2017년 2월 6일 월요일

Tensorflow - 1.2 - Use Tensorflow in Visual Studio 2013 +

Hi ! it's lucidcode ! today I'll show how can you use Tensorflow in Visual Studio 2013+
If you completely followed tensorflow 1.1 , it's so simple !
just execute Visual Studio 2013+ and import tensorflow ! 


1. Execute Visual Studio 2013+ , in my case , using Visual Studio 2015


2. Make new Python Application project, you can find it Template -> Python
in normally, you'll must install additional template about python


3. you can name project to anything what you want , in my case , named it Tensorflow_test.py

4. and just input this code in work space

import tensorflow as tf
hello = tf.constant('Hello, TensorFlow in Windows world!')
sess = tf.Session()
print(sess.run(hello)) 


5. then you can see that python application is executed 


2017년 2월 4일 토요일

Tensorflow - 1.1 - Install TensorFlow in Windows 10 environment (including VisualStudio2015)

Hey dude ! this is lucidcode
yeah i know there is no one ... but i'll keep posting ... Do you wonder why???
it will be long tale ... 
yesterday I went a little party in my company. 
someone asked me "Do you have SNS account?"
I said "Nope , SNS is so danger because there is high risk about my personal information extrusion and ... blah blah ... "
he said "OK, you didn't use any SNS , including blog , isn't it "
in that time , I realized that I used SNS !!! because blog also one of SNS !!!
... then ... what I wanted to say is 'This blog is my last hope that connect with network world'
so ... I'll keep posting ... don't stop me (although there is no one who stop me ... )

※ Caution
this post is wrote for ONLY someone using CPU in Windows 10

(if you wanna install in linux(or Ubuntu) , plz visit
http://lucidcode.blogspot.kr/2017/01/tensorflow-1-install-tensorflow.html
this link)


anyway ... because TensorFlow start to apply Windows 10, today I'll post about how can we Install TensorFlow in Windows 10 environment !! 

but ... it's so easy ... 
1. first time, let's install python(for Windows)! but be careful ! python 3.6 version did not apply TensorFlow library so if you wanna use python 3 , you have to install python 3.3 ~ 3.5 version


you can download in this site (personally I recommend to install python 3.5.3 no reason!!)


2. follow install program(don't forget to check add Python 3.5 to Path!!) 

when the install is end, for checking , execute python!!


3. if you did completely , execute CMD and input this code

pip install --upgrade https://storage.googleapis.com/tensorflow/windows/cpu/tensorflow-0.12.1-cp35-cp35m-win_amd64.whl

and ... wait ...


4. then you can see this messages.


5. in this stage , for checking it , let's execute python and input these code

import tensorflow as tf
hello = tf.constant('Hello, TensorFlow in Windows world!')
sess = tf.Session()
print(sess.run(hello))

if you get "Hello, TensorFlow in Windows world!" or "b'Hello, TensorFlow in Windows world!'" Anything was completed

if you followed this stages completely, you also can use tensorflow in Visual Studio !
i'll post it next step
Thank you !


if you wanna get additional information about installation
https://www.tensorflow.org/get_started/os_setup#test_the_tensorflow_installation


2017년 2월 2일 목요일

Unity - 6 - Let's make game object

Longtime no see guys~! It's lucid code who you waited !!
... today we'll make game objects which is not player Non - Player - Object


1. First , let's make cube object which is named 'PickUp'


2, and then hide Player object by check off check box next to Name box of it


3. and change measure of PickUp's transform , Position , Rotation and Scale !
each as Position ( 0 , 0.5 , 0 ) , Rotation ( 45 , 45 , 45 ) , Scale ( 0.5 , 0.5 , 0.5 )


4. for giving spin effect to Object , create script which is named 'Rotator' in PickUp object


5. The Rotator's code is simple

Using ~~ (it will be automatically generated)

Void Update(){
       transform.Rotate(new Vector3(15, 30, 45) * Time.deltatime);
}

this is key code that means just rotate each axis 15 , 30 , 30 per arranged time


6. Let's make empty object which is named 'PickUps' and put PickUp object in Pickups


7. make more PickUps by using copy and paste !


8. and then make material and give it one PickUp and click Apply (i signed it to find easy)


9. and for checking it , do test !!

2017년 1월 18일 수요일

Tensorflow - 1 - Install TensorFlow

The TensorFlow requires Python(2.7 , 3.4+) so you have to install the Python before install TensorFlow. but the Python already installed in Ubuntu , so if you chose Ubuntu by your OS, you don't have to care about it !

There is many way to set up TensorFlow but I will use Anaconda which is a Python distribution that includes a large number of standard numeric and scientific computing packages.


here is anaconda download link , if you work in windows environment , it's OK you can download it before boot as Ubuntu , because Ubuntu can access your whole disk including disk which was installed windows


1.  Open the terminal by searching

2.  input code

python -V

and check the version of python


3. if your python2 version is 2.7, input code

bash Anaconda2-4.2.0-Linux-x86_64.sh

and install the anaconda( don't forget to move 'Anaconda2-4.2.0-Linux-x86_64.sh' file to home directory


4. then , you have to be the yes man! repeatedly press 'Enter' key and input yes


5. and then ! you have to set tensorflow virtual anaconda environment by inputting code

conda create -n tensorflow python=2.7


6. if you completely followed me, you can see this messages


7. then input two codes

source activate tensorflow

export TF_BINARY_URL=https://storage.googleapis.com/tensorflow/linux/cpu/tensorflow-0.12.1-cp27-none-linux_x86_64.whl

each code means activate virtual anaconda environment and select correct binary


8. and input last code to install tensorflow

pip install --upgrade $TF_BINARY_URL


9. if you wanna test that you did perfectly , turn on python and input following code

 import tensorflow as tf
 hello = tf.constant('Hello, TensorFlow!')
 sess = tf.Session()
 print(sess.run(hello))

if whole system is well, you get 'Hello, TensorFlow!'
(To be frank , it doesn't test technical component of TensorFlow but just test functional part)


2017년 1월 17일 화요일

Tensorflow - 0 - Install Ubuntu and First setting in Ubuntu environment

Howdy guys ~~~ it's lucid
today ! we'll set TensorFlow development environment
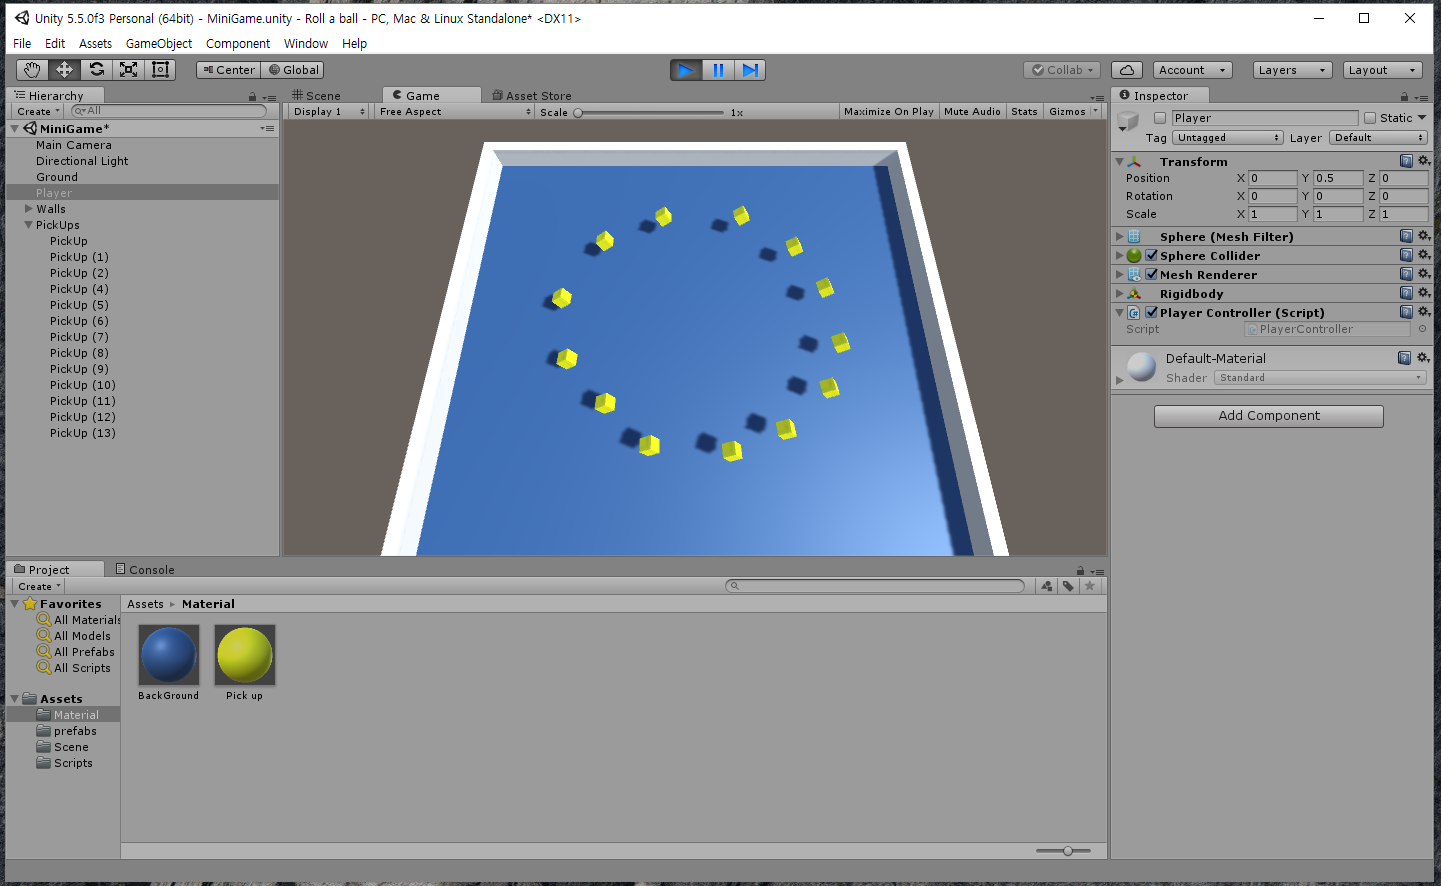
you'll be curious about why i'm posting about TF instead of posting Unity
The answer of that question is just because i have to study TensorFlow to work at my new job , Korea Institute of Science and Technology !
Anyway , let's start !
frankly, explanation about 'how can we set up TensorFlow' is obviously posted on official site of it
but i got some problem and experience something difficult, so i'll post focus on unexpected problem which is expected during setting TF

The TensorFlow require unlimited hardware , in other words , you can use TF on from a smart phone to the hyper computer which use hundreds of GPU
so you don't have to care about your computer specification when you want only study TF
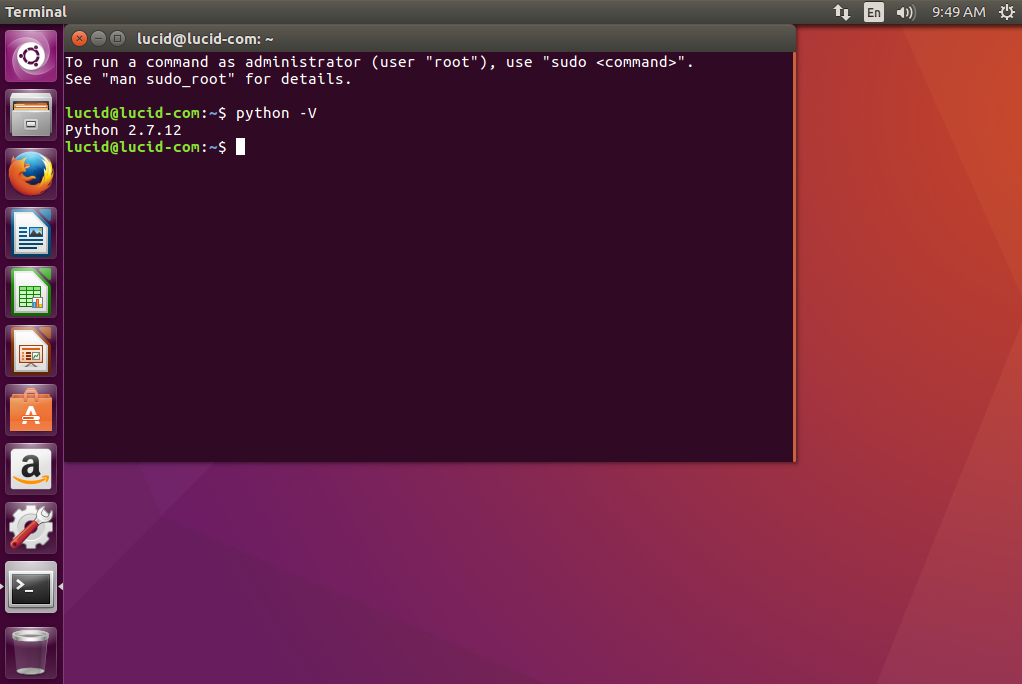
then the first sequence is install Linux OS
in my case, I chose Ubuntu for my Linux environment


https://www.ubuntu.com/download/desktop

here is a link to download Ubuntu 16.04 (by today 17-01-17)
after download it , you have to make booting USB (or DVD)
but I had not DVD , so I made booting USB for install Ubuntu OS

for making booting USB , you must have USB(at least 4GB)
and you need additional software for making booting USB , I used Universal USB

https://www.pendrivelinux.com/universal-usb-installer-easy-as-1-2-3/#button

here is also a link to download Universal USB
if you download it completely , it's time to make booting USB

1. Open the Universal USB and follow it

2. just follow like this , then you can make Ubuntu booting USB

3. next step is seriously easy ! boot by USB(you can set it in BIOS by pressing F10 or DEL button at Boot menu) and choose 'Install Ubuntu'


4. and then check whole of check box 


 5. In this case, you can choose


6. your country and city will be selected automatically by itself


7. your keyboard also be selected automatically


8. then , fill the blanks by your information


9. and wait for complete to install


10. and then , if you can see this message box , restart your computer


To be continued . . .

2017년 1월 11일 수요일

Unity - 5 - Making walls

 Howdy Guys ! this is lucid!! how are you??
Because I prepared interview with company that I'll go to , i couldn't post anything at my blog
Anyway ! today ! we'll make walls .... and it'll be so simple


1. first step is making folder in hierarchy which is named 'walls'


2. and then, create four cubes (of course you must know how make it)


 3. and Rename each cubes as 'EastWall', 'WestWall', 'SouthWall', 'NorthWall'


4. then , for using as wall , resize each object's scale as X=0.5 , Y = 2 , Z = 20.5
(sorry , i forgot to fix what was displayed as 'Z=20' in capture)


5. then locate each walls by modifying 'position value' or dragging it directly


6. The cases of 'North' and 'South' , you can exchange X and Z scale values or if you wanna use another way , you can rotate it 90 degree on the Y axis


7. Finally , you can watch that the ball is not fallen anymore

2017년 1월 5일 목요일

Unity - 4 - help move camera with object(player)

In some games, it's important factor that camera must usually follow player.
So!! we will make camera follow player in this time


1. The most easy way to make camera follow player is just inherit camera to player ! then camera will always follow player and it seems like that it solved all of problem


2. but in this case , you can see , it was not good idea ! because our played object is sphere ! yeah it is rolling and rolling!! so the camera inherited to player also roll !!

 3. so ! we need write script. let's add new script


4. Write this simple code (we already learned how can we open script editor)
then , you can see unfamiliar code
       public GameObject player
you're probably thinking "Oh it's a creating instance code ! but ... where is class which defined before declaration??? "
yeah you're right 'GameObject' class also member class in namespace !! and you will soon realize how this class is convenient
and you can also find transform.position and it return position value (3 - vector value) of each object
so offset is fixed value(or distance between this object and player) and it's set at 'start'
and used to repeatedly move camera position in fixed distance with player


5. But ! at first time , I wondered that how that script can recognize PLAYER object even though the script is CAMERA's script and you can see about script in the right bottom there is 'player' and blank next to 'player' if you click it , you can see select menu !
then , you can select what do you want to connect 'player' in script !!

6. Finally, if you test, you will know that this is what i wanted