2017년 2월 6일 월요일

Tensorflow - 1.2 - Use Tensorflow in Visual Studio 2013 +

Hi ! it's lucidcode ! today I'll show how can you use Tensorflow in Visual Studio 2013+
If you completely followed tensorflow 1.1 , it's so simple !
just execute Visual Studio 2013+ and import tensorflow ! 


1. Execute Visual Studio 2013+ , in my case , using Visual Studio 2015


2. Make new Python Application project, you can find it Template -> Python
in normally, you'll must install additional template about python


3. you can name project to anything what you want , in my case , named it Tensorflow_test.py

4. and just input this code in work space

import tensorflow as tf
hello = tf.constant('Hello, TensorFlow in Windows world!')
sess = tf.Session()
print(sess.run(hello)) 


5. then you can see that python application is executed 


2017년 2월 4일 토요일

Tensorflow - 1.1 - Install TensorFlow in Windows 10 environment (including VisualStudio2015)

Hey dude ! this is lucidcode
yeah i know there is no one ... but i'll keep posting ... Do you wonder why???
it will be long tale ... 
yesterday I went a little party in my company. 
someone asked me "Do you have SNS account?"
I said "Nope , SNS is so danger because there is high risk about my personal information extrusion and ... blah blah ... "
he said "OK, you didn't use any SNS , including blog , isn't it "
in that time , I realized that I used SNS !!! because blog also one of SNS !!!
... then ... what I wanted to say is 'This blog is my last hope that connect with network world'
so ... I'll keep posting ... don't stop me (although there is no one who stop me ... )

※ Caution
this post is wrote for ONLY someone using CPU in Windows 10

(if you wanna install in linux(or Ubuntu) , plz visit
http://lucidcode.blogspot.kr/2017/01/tensorflow-1-install-tensorflow.html
this link)


anyway ... because TensorFlow start to apply Windows 10, today I'll post about how can we Install TensorFlow in Windows 10 environment !! 

but ... it's so easy ... 
1. first time, let's install python(for Windows)! but be careful ! python 3.6 version did not apply TensorFlow library so if you wanna use python 3 , you have to install python 3.3 ~ 3.5 version


you can download in this site (personally I recommend to install python 3.5.3 no reason!!)


2. follow install program(don't forget to check add Python 3.5 to Path!!) 

when the install is end, for checking , execute python!!


3. if you did completely , execute CMD and input this code

pip install --upgrade https://storage.googleapis.com/tensorflow/windows/cpu/tensorflow-0.12.1-cp35-cp35m-win_amd64.whl

and ... wait ...


4. then you can see this messages.


5. in this stage , for checking it , let's execute python and input these code

import tensorflow as tf
hello = tf.constant('Hello, TensorFlow in Windows world!')
sess = tf.Session()
print(sess.run(hello))

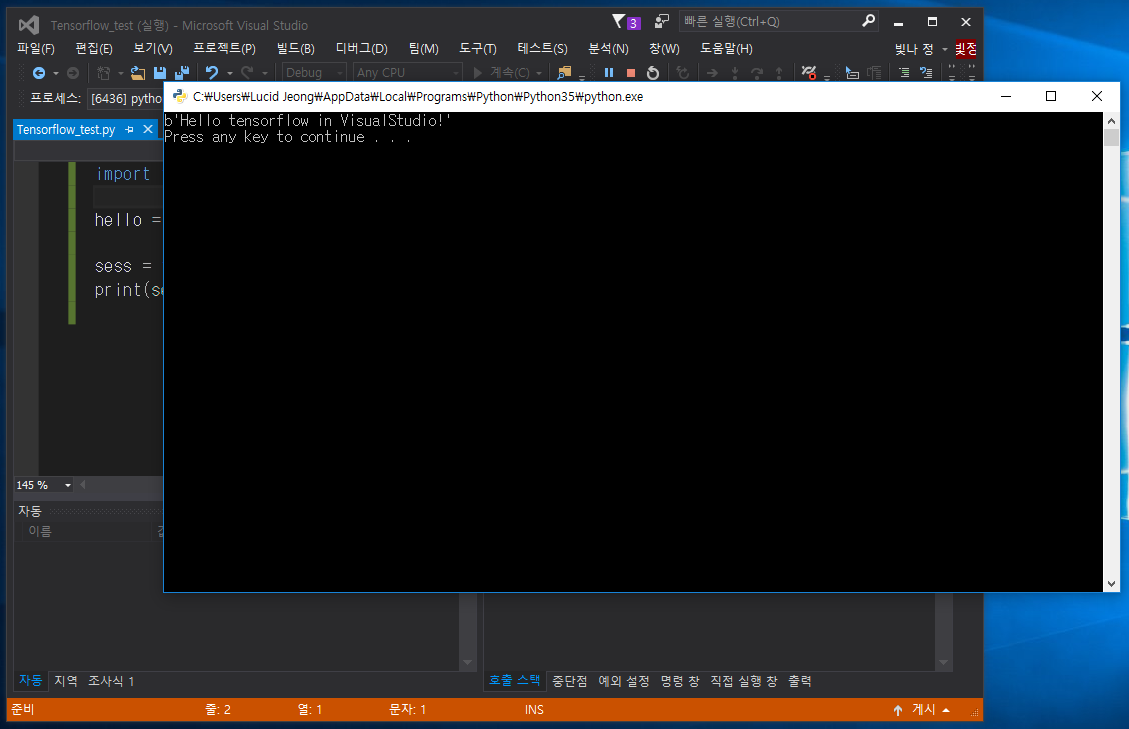
if you get "Hello, TensorFlow in Windows world!" or "b'Hello, TensorFlow in Windows world!'" Anything was completed

if you followed this stages completely, you also can use tensorflow in Visual Studio !
i'll post it next step
Thank you !


if you wanna get additional information about installation
https://www.tensorflow.org/get_started/os_setup#test_the_tensorflow_installation


2017년 2월 2일 목요일

Unity - 6 - Let's make game object

Longtime no see guys~! It's lucid code who you waited !!
... today we'll make game objects which is not player Non - Player - Object


1. First , let's make cube object which is named 'PickUp'


2, and then hide Player object by check off check box next to Name box of it


3. and change measure of PickUp's transform , Position , Rotation and Scale !
each as Position ( 0 , 0.5 , 0 ) , Rotation ( 45 , 45 , 45 ) , Scale ( 0.5 , 0.5 , 0.5 )


4. for giving spin effect to Object , create script which is named 'Rotator' in PickUp object


5. The Rotator's code is simple

Using ~~ (it will be automatically generated)

Void Update(){
       transform.Rotate(new Vector3(15, 30, 45) * Time.deltatime);
}

this is key code that means just rotate each axis 15 , 30 , 30 per arranged time


6. Let's make empty object which is named 'PickUps' and put PickUp object in Pickups


7. make more PickUps by using copy and paste !


8. and then make material and give it one PickUp and click Apply (i signed it to find easy)


9. and for checking it , do test !!